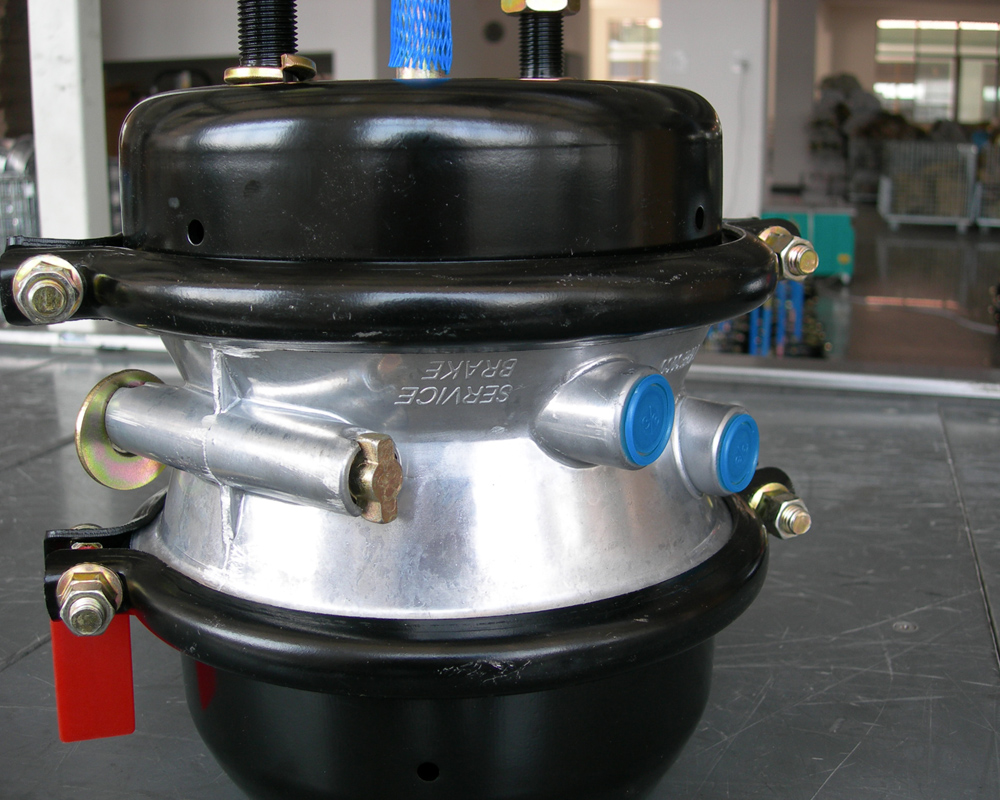
30 30 Brake chambers are used to turn the air pressure in a brake system into a force which can stop large vehicles. However, like any car part, these can wear down over time and malfunction, compromising the entire system. Installing replacements can be a do-it-yourself job, but not for the complete novice. You will need to have some auto repair experience, the right tools, and a guide to follow like the one below.
Production Process:Pressing the model – Deburring –Surface Treatment –Lathe Finish –Drilling and Tapping –Assembling –Testing Gas Tightness –Packaging
Step 1 - Prepare
The first thing that you will need to do is prepare your work area. Make sure that the vehicle is on a level surface, and place wheel chocks underneath the wheels. Then, find a spot underneath the damaged brake chamber.
Step 2 - Remove Brake Chamber
Take the chamber caging tool (T-tool) off with a 3/4-inch wrench; from there, you can take the plug off from behind the chamber itself. You will need to push in the caging tool as far as it will go behind the brake chamber. Then, turn it clockwise until you feel it lock. You will do this until the tool cannot be pulled out. Tighten the nut of the caging tool afterward with your wrench.
There will be cotter pins that need to be removed from the clevis pins next. From there, you will need to get the slack adjuster released. Also, detach all of the air lines as well as the fittings with your crescent wrench.
Once this is done, there are two mounting nuts that need to be removed from the Type 30 30 brake chamber in order to take it out and set it aside.
Step 3 - Prepare Rod Disposal
Now, the nut in the caging tool can be unscrewed and the jam nut removed from the chamber rod with a pair of channel locks. Take the clevis off the chamber rod at this time as well. This will allow you to measure the base of the brake chamber to this rod. Write down the results for later reference.
Step 4 - Trim new Chamber Rod
Secure the new chamber into a table vise, and extend the chamber rod, measuring it out to match your previous length. Mark on the rod where you need to cut with a soapstone. Then, trim off the excess with a hacksaw. Some work with a metal file should smooth out any rough edges left behind. Rethread the clevis afterwards until it is visible on both ends.
Step 5 - Reinstall Cage Tool
Reposition under vehicle with the new chamber. The caging tool needs to be placed behind the brake chamber, so start by turning the caging tool again until it locks. If it does not pull out, it is in right. Then, put the nut back in and tighten it completely.
Step 6 - Place Brake Chamber In
Position brake chamber with the holes against mounting bracket so you can tighten the mounting nuts to the stud. Reconnect the air lines to the chamber, and put the clevis pins and cotter pins back in place. Read manufacturers’ instructions afterwards if you need help with brake adjustment, or consult a mechanic.
About Brake chamber for us:
Xiamen Wabco produces a complete line of world class spring brakes, piggybacks and service chambers specializing in quality China made truck and trailer parts.
Xiamen Wabco Heavy Duty offers a wide variety of quality, new and remanufactured air brake and trailer electrical parts. Each part is designed to meet or exceed OE specifications and provide the same fit, form, and function of the OE part.
We are successfully certified with TS16949 and ISO9001/2010 Quality control system.
Our good quality Air Brake Chamber have been stably exporting to Europe, North American,South America, Asia, Africa, Middle east in the worldwide.And have got good reputation in the market.

没有评论:
发表评论